Changing your car’s oil is a crucial maintenance task that helps ensure your vehicle runs smoothly and efficiently. Regular oil changes can extend the life of your engine and improve overall performance. If you’re considering doing it yourself, this step-by-step guide will walk you through the process, from gathering the necessary tools to disposing of the used oil properly.
1. Gather Your Supplies
Before you begin, make sure you have all the necessary supplies. Here’s a list of what you’ll need:
- New oil (refer to your owner’s manual for the correct type and amount)
- New oil filter (make sure it’s the correct size and type for your vehicle)
- Oil filter wrench
- Socket wrench set
- Oil drain pan
- Funnel
- Car jack and jack stands (or ramps)
- Rags or paper towels
- Gloves (optional but recommended)
- Safety glasses (optional but recommended)
2. Prepare Your Vehicle
- Park Safely: Ensure your car is parked on a level surface. Engage the parking brake to prevent the vehicle from rolling.
- Lift the Vehicle: Use a car jack to lift the front of the car. Place the jack stands securely under the vehicle to keep it elevated. If you’re using ramps, drive the car up the ramps and engage the parking brake.
- Allow Engine to Cool: For safety, let the engine cool down if it has been running recently. Hot oil can cause burns.
3. Drain the Old Oil
- Locate the Oil Drain Plug: Underneath the car, find the oil drain plug on the oil pan. It’s usually located at the bottom of the engine.
- Position the Oil Drain Pan: Place the oil drain pan under the oil drain plug to catch the old oil.
- Remove the Oil Drain Plug: Use a socket wrench to carefully loosen and remove the oil drain plug. Allow the old oil to drain completely into the pan. Be cautious as the oil may be hot.
- Replace the Drain Plug: Once the oil has drained, clean the drain plug and the area around the plug hole. Reinstall the drain plug, tightening it securely with the socket wrench.
4. Replace the Oil Filter
- Locate the Oil Filter: Find the oil filter, which is usually located near the engine block.
- Remove the Old Oil Filter: Use an oil filter wrench to loosen and remove the old oil filter. Be prepared for some residual oil to spill out.
- Prepare the New Oil Filter: Apply a small amount of new oil to the rubber gasket on the top of the new oil filter. This helps ensure a proper seal.
- Install the New Oil Filter: Screw the new oil filter into place by hand. Once it’s snug, tighten it slightly with the oil filter wrench, but avoid over-tightening.
5. Add New Oil
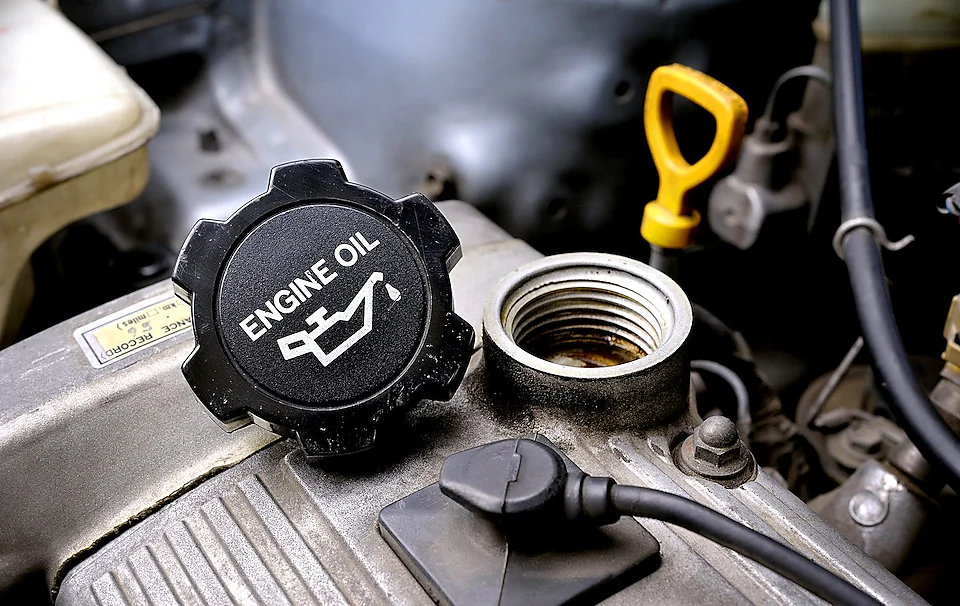
- Locate the Oil Filler Cap: Open the hood and find the oil filler cap on top of the engine.
- Add New Oil: Using a funnel, pour the new oil into the engine through the oil filler hole. Refer to your owner’s manual for the correct type and amount of oil needed.
- Check Oil Level: After adding the oil, wait a few minutes, then use the dipstick to check the oil level. Remove the dipstick, wipe it clean, insert it back into the tube, and remove it again to check the level. Add more oil if necessary until it reaches the recommended level.
- Replace the Oil Filler Cap: Securely screw the oil filler cap back into place.
6. Check for Leaks
- Start the Engine: Start your vehicle and let it run for a few minutes. This allows the new oil to circulate and the oil filter to fill.
- Check for Leaks: Inspect the area around the oil filter and drain plug for any signs of leaks. If you see any leaks, tighten the oil filter or drain plug as needed.
- Turn Off the Engine: After checking for leaks, turn off the engine and let it sit for a few minutes. Recheck the oil level with the dipstick and add more oil if necessary.
7. Dispose of the Old Oil
- Transfer Old Oil: Pour the used oil from the drain pan into a sealable container for recycling.
- Dispose Properly: Take the old oil and filter to a recycling center or an auto parts store that accepts used oil. Many stores and service centers offer recycling services for oil and filters.
8. Final Check
- Double-Check Everything: Ensure that the oil drain plug and oil filter are securely installed. Verify that the oil level is correct and there are no leaks.
- Lower the Vehicle: If you used a jack and jack stands, carefully lower the vehicle. If you used ramps, drive off the ramps slowly.
- Reset the Oil Change Light: If your vehicle has an oil change light, follow the instructions in your owner’s manual to reset it.
Conclusion
Changing your car’s oil is a straightforward process that can be accomplished with a few basic tools and some attention to detail. Regular oil changes are essential for maintaining engine health and performance. By following this step-by-step guide, you can ensure that your oil change is done correctly, helping to keep your vehicle running smoothly for years to come.